

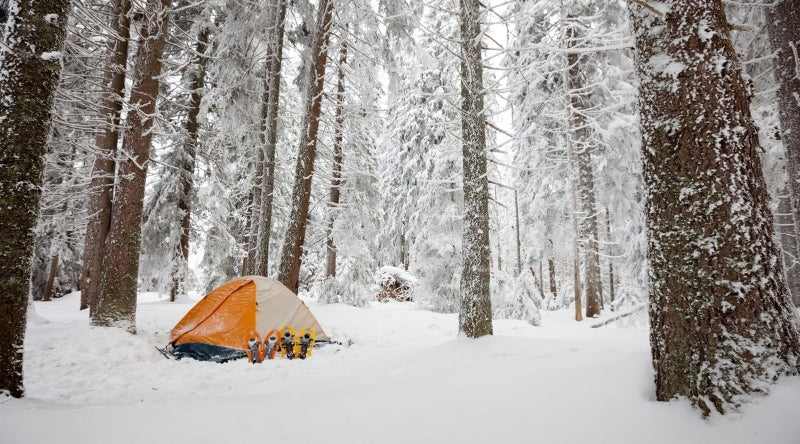


Four-season inner net for Lanshan 1
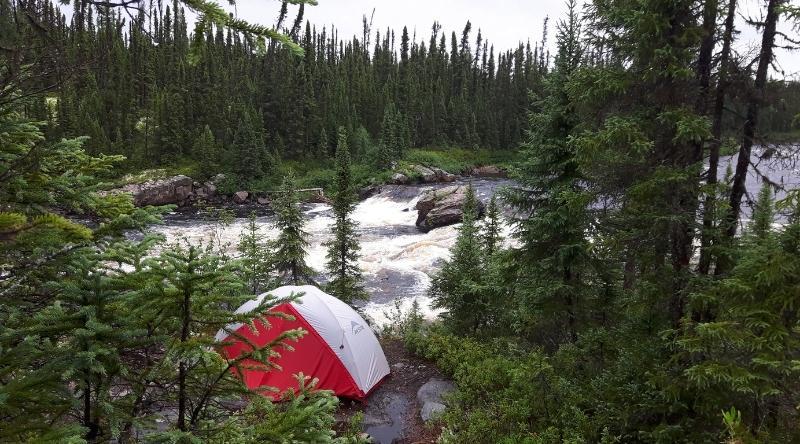
This 4-season inner tent is designed for the Lanshan 1. Get this genuine 4-season tent liner to replace your damaged tent or to convert your 3-season Lanshan into a winter model!
Also available: Tent canvas and 3-season inner net.
MORE INFO ON THIS 4-SEASON INNER NET FOR LANSHAN 1
| Total weight | 360 g |
|---|---|
| Floor fabric | 15D Nylon Silicone fabric |
| Floor waterproofness | 5000 mm + |
| Interior fabric | Ultra-Lightweight 15D Nylon |
| Designed for | Lanshan 1 |
| Not included | Walking stick |
| Not included |
Waterproof colored canvas |
First, note that sealing the seams of the Lanshan with silicone sealant is only necessary for the Pro version, specifically the Lanshan 1 Pro or Lanshan 2 Pro . If you purchase a non-Pro version, such as the Lanshan 1 or Lanshan 2, you do not need to apply glue because the seams on these models have been factory-glued and offer high-performance waterproofing.
The necessary supplies to waterproof the seams of the Lanshan 1 Pro
The essentials:
- The syringe supplied with your Lanshan 1 Pro
- A tube of GearAid SeamGrip silicone glue
Inside the packaging of your Lanshan 1 Pro ultralight tent, you'll find a small syringe; this is the best tool for applying the silicone sealant. Using it correctly isn't the easiest task, but the result will be much better than applying it with a brush or your finger.

If you are in Canada or France, you can easily purchase GearAid SeamGrip silicone sealant on Amazon. It's a reliable sealant that doesn't dry quickly, making it easy to apply.

Caution: The official instructions for this product recommend applying the glue to tent seams using the small brush. The Lanshan manufacturer suggests using the syringe included with the Lanshan 1 Pro. Applying the glue with the brush is not recommended as it is very difficult to use, and in the end, your beautiful tent might look like this:

Steps to waterproof the Lanshan 1 Pro
To clearly visualize the steps and understand how to use the syringe provided with the Lanshan 1 Pro , you can watch the video below, captured by Justin Whiting.
- First, you must set up the tent outside before applying the coating. Make sure it is securely fastened and taut.
- Next, squeeze the glue into the syringe.

- Before sealing, make sure you clearly identify the areas where it is necessary. In the following image, areas requiring waterproofing are marked in red, optional sealing areas are marked in yellow, and areas that do not need to be sealed are marked in black.

- The operation must be carried out from top to bottom. Hold the syringe in one hand, and with the other, hold the canvas for stability. Apply the glue evenly along the seams. On the seams of the black UHMWPE patch area, to form a thin layer of glue over the seam, spread the glue with your finger after application. Don't forget to wipe your finger!


- Once all the seams are sealed, don't rush to pack the tent. Depending on the strength of the glue you purchased, you'll need to let it dry for 1 to 12 hours.
In conclusion, if you believe you are not skilled enough or a perfectionist enough to carry out this job, you can choose to seal only the red areas, so that Lanshan 1 Pro can still withstand storms.

