


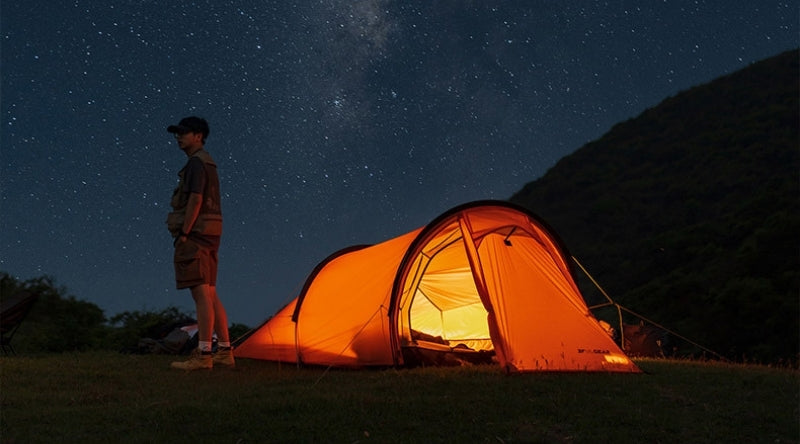


Ultra-Lightweight 2-Person Tent - STAR RIVER UL 2
- #1 Best Seller in | Naturehike Tents - 2 Person
- #1 Best Seller in | Naturehike Tents
- #3 Best Seller in | Four-season tents and winter tents
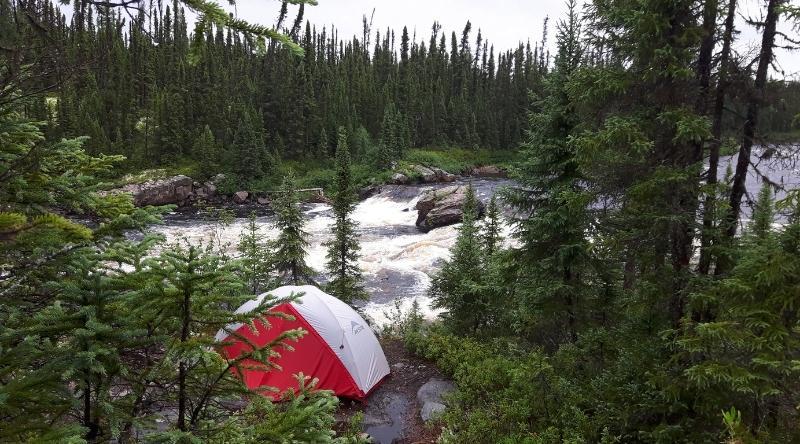
This UL version of the Star River 2 sets new standards for an ultralight, freestanding 2-person tent. Constructed from ultralight 15D nylon, this 2-person bivouac tent is the ultralight version of the very popular Star River 2. A lighter version offering innovative new technical features. The pursuit of superior performance and lightness will always drive our product choices, and this tent perfectly meets those requirements.
MORE INFO ON THE ULTRA-LIGHT 2-PERSON TENT - STAR RIVER UL 2
Constructed from ultralight 15D nylon, the UL version is lighter and more compact than the original. The dome-shaped pole structure is made from lighter, more environmentally friendly aluminum while maintaining excellent stability. One of the innovations of the Star River UL 2 is its new design, which allows you to create awnings using your trekking poles for each of the doors. Its 1500 mm waterproof rating flysheet has been redesigned for improved ventilation. The addition of an integrated vestibule compartment enhances storage space. Finally, to optimize the tent's pack weight, the stuff sack has been designed to be modular. The tent components can be packed separately, and a dedicated pole storage bag allows you to attach it to your backpack. This new stuff sack design helps distribute the carrying weight among campers. All these improvements make this ultra-light 2-person tent the ideal choice for your next outdoor adventure!
- Ultra-Light Hiking Tent
- Very well ventilated
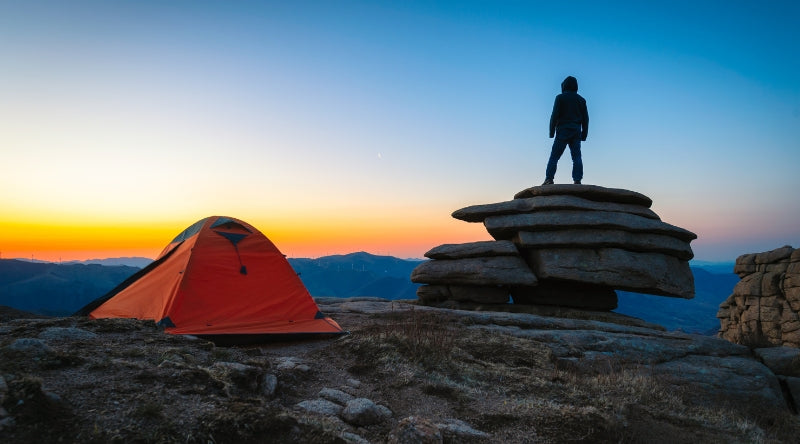
- 4-season tent
- Waterproof rating of 1500 mm
- Modular carrying bag
- Contains: 14 stakes, 6 reflective cords
- Groundsheet included
FEATURES
| Tent weight | 1.62 kg |
|---|---|
| Footprint weight | approximately 150 g |
| Packed size | 40 x 13 cm |
| Ideal for | Hiking & Expedition |
|
Capacity
|
2 people |
| Door(s) | 2 doors |
| Vestibule(s) | 2 vestibules |
| Interior fabric | Breathable 15D nylon |
| Floor fabric | 210T Polyester |
|
Floor waterproofness
|
PU5000 mm |
| Fly fabric | 15D Nylon Silicone fabric |
|
Fly waterproofness
|
PU1500 mm |
|
Exposed fabric of canopy
|
Waterproof 20D Nylon |
| Waterproofness of the canopy | PU3000 mm |
| Type of hoops | Yuksom UL - 8.5 mm diameter |
|
Floor length
|
2.10 m |
|
Floor width
|
1.30 m |
|
Floor area
|
2.73 m approx |
| Interior height | 1.05 m |
| Depth of the vestibules | 0.58 m |
| Groundsheet | Included |
First, note that sealing the seams of the Lanshan with silicone sealant is only necessary for the Pro version, specifically the Lanshan 1 Pro or Lanshan 2 Pro . If you purchase a non-Pro version, such as the Lanshan 1 or Lanshan 2, you do not need to apply glue because the seams on these models have been factory-glued and offer high-performance waterproofing.
The necessary supplies to waterproof the seams of the Lanshan 1 Pro
The essentials:
- The syringe supplied with your Lanshan 1 Pro
- A tube of GearAid SeamGrip silicone glue
Inside the packaging of your Lanshan 1 Pro ultralight tent, you'll find a small syringe; this is the best tool for applying the silicone sealant. Using it correctly isn't the easiest task, but the result will be much better than applying it with a brush or your finger.

If you are in Canada or France, you can easily purchase GearAid SeamGrip silicone sealant on Amazon. It's a reliable sealant that doesn't dry quickly, making it easy to apply.

Caution: The official instructions for this product recommend applying the glue to tent seams using the small brush. The Lanshan manufacturer suggests using the syringe included with the Lanshan 1 Pro. Applying the glue with the brush is not recommended as it is very difficult to use, and in the end, your beautiful tent might look like this:

Steps to waterproof the Lanshan 1 Pro
To clearly visualize the steps and understand how to use the syringe provided with the Lanshan 1 Pro , you can watch the video below, captured by Justin Whiting.
- First, you must set up the tent outside before applying the coating. Make sure it is securely fastened and taut.
- Next, squeeze the glue into the syringe.

- Before sealing, make sure you clearly identify the areas where it is necessary. In the following image, areas requiring waterproofing are marked in red, optional sealing areas are marked in yellow, and areas that do not need to be sealed are marked in black.

- The operation must be carried out from top to bottom. Hold the syringe in one hand, and with the other, hold the canvas for stability. Apply the glue evenly along the seams. On the seams of the black UHMWPE patch area, to form a thin layer of glue over the seam, spread the glue with your finger after application. Don't forget to wipe your finger!


- Once all the seams are sealed, don't rush to pack the tent. Depending on the strength of the glue you purchased, you'll need to let it dry for 1 to 12 hours.
In conclusion, if you believe you are not skilled enough or a perfectionist enough to carry out this job, you can choose to seal only the red areas, so that Lanshan 1 Pro can still withstand storms.

