
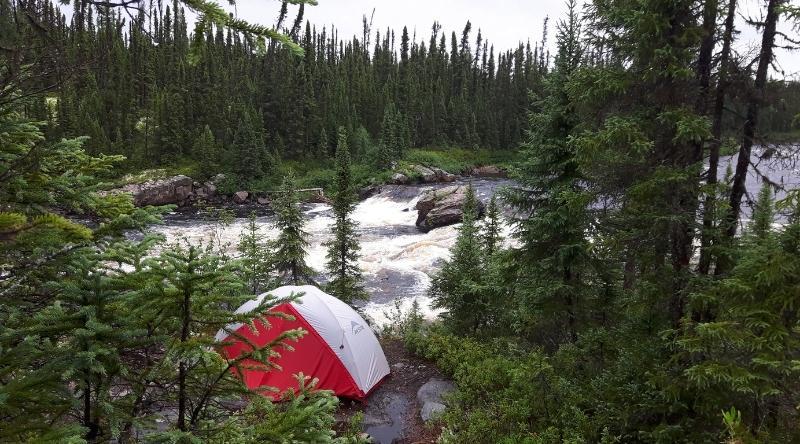

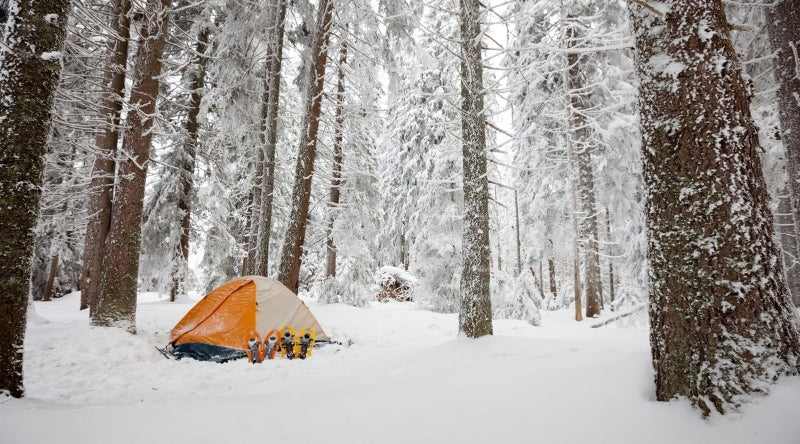


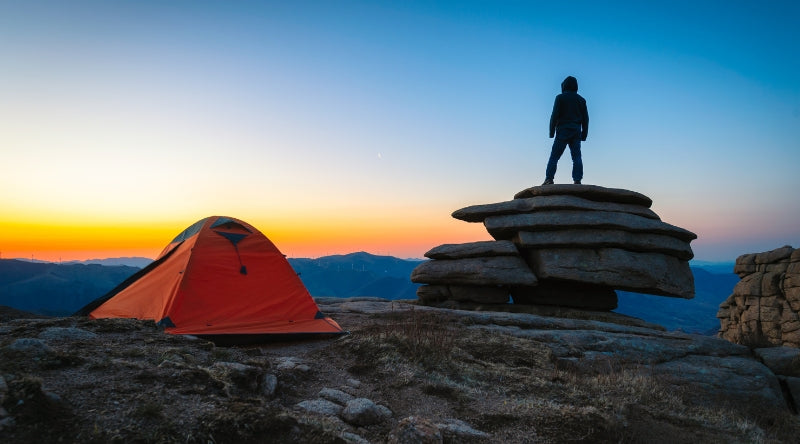


Ultra-lightweight, freestanding 1-person tent - YAKOU UL 1
This ultralight, freestanding one-person tent is ideal for hikers who appreciate ergonomics and refined design. This single-wall tent offers excellent ventilation. Perfection lies in the details... The roof opening, covered by a suspended half-sheet of fabric, creates a convection effect and promotes airflow. The cross-pole structure, combined with guy lines securely anchored to the ground, provides exceptional stability.
MORE INFO ON THE YAKOU UL 1 ULTRA LIGHTWEIGHT FREESTANDING 1-PERSON TENT
This freestanding one-person tent is one of the lightest in our shop! Its single-wall design makes it incredibly easy to pitch! It's the perfect backpacking tent for solo travelers looking for lightweight gear and minimal luggage space. You can enjoy the splendor of a starry sky simply by removing its half-wall waterproof section. Constructed from a single piece of material, this innovative design will perfectly protect you from the elements and impress you with its stability in adverse weather conditions. This design isn't just original, it's also high-performing!
WARNING : Some images show the 2-seater version of this model. The Yakou UL 1 has only one access door , not two as shown in the images.
- Ultra-lightweight 4-season tent
- Easy to install
- Freestanding tent
- Lightweight and compact
- Waterproof rating of 1500 mm+
- Contains: 13 stakes and 6 wind cords
FEATURES
| Total weight | 1.54 kg |
|---|---|
|
Capacity
|
1 person |
| Door(s) | 1 door only |
| Vestibule(s) | 1 vestibule |
| Interior fabric | Breathable B3 nylon |
| Floor fabric | 20D nylon silicone fabric |
|
Floor waterproofness
|
3000 mm |
| Fly fabric | 15D Nylon Silicone fabric |
|
Fly waterproofness
|
1500 mm+ |
| Type of hoops | 7001 Series Aluminum |
| Packed size | 40 x 14 cm |
|
Floor length
|
2.10 m |
|
Floor width
|
0.8 to 1 m |
|
Floor area
|
1.89 m approx |
| Interior height | 1.05 m |
| Vestibule depth | 0.56 m |
| Groundsheet | Not Included |
First, note that sealing the seams of the Lanshan with silicone sealant is only necessary for the Pro version, specifically the Lanshan 1 Pro or Lanshan 2 Pro . If you purchase a non-Pro version, such as the Lanshan 1 or Lanshan 2, you do not need to apply glue because the seams on these models have been factory-glued and offer high-performance waterproofing.
The necessary supplies to waterproof the seams of the Lanshan 1 Pro
The essentials:
- The syringe supplied with your Lanshan 1 Pro
- A tube of GearAid SeamGrip silicone glue
Inside the packaging of your Lanshan 1 Pro ultralight tent, you'll find a small syringe; this is the best tool for applying the silicone sealant. Using it correctly isn't the easiest task, but the result will be much better than applying it with a brush or your finger.

If you are in Canada or France, you can easily purchase GearAid SeamGrip silicone sealant on Amazon. It's a reliable sealant that doesn't dry quickly, making it easy to apply.

Caution: The official instructions for this product recommend applying the glue to tent seams using the small brush. The Lanshan manufacturer suggests using the syringe included with the Lanshan 1 Pro. Applying the glue with the brush is not recommended as it is very difficult to use, and in the end, your beautiful tent might look like this:

Steps to waterproof the Lanshan 1 Pro
To clearly visualize the steps and understand how to use the syringe provided with the Lanshan 1 Pro , you can watch the video below, captured by Justin Whiting.
- First, you must set up the tent outside before applying the coating. Make sure it is securely fastened and taut.
- Next, squeeze the glue into the syringe.

- Before sealing, make sure you clearly identify the areas where it is necessary. In the following image, areas requiring waterproofing are marked in red, optional sealing areas are marked in yellow, and areas that do not need to be sealed are marked in black.

- The operation must be carried out from top to bottom. Hold the syringe in one hand, and with the other, hold the canvas for stability. Apply the glue evenly along the seams. On the seams of the black UHMWPE patch area, to form a thin layer of glue over the seam, spread the glue with your finger after application. Don't forget to wipe your finger!


- Once all the seams are sealed, don't rush to pack the tent. Depending on the strength of the glue you purchased, you'll need to let it dry for 1 to 12 hours.
In conclusion, if you believe you are not skilled enough or a perfectionist enough to carry out this job, you can choose to seal only the red areas, so that Lanshan 1 Pro can still withstand storms.

